Bring home a fun new project! You can now register to pick up a Take-and-Make Kit from the Youth Services desk. Here are the instructions for each kit:
Toddlers and Preschoolers: Texture and Leaf Rubbing
Young children create fascinating patterns and designs, while engaged in tactile exploration of natural materials.
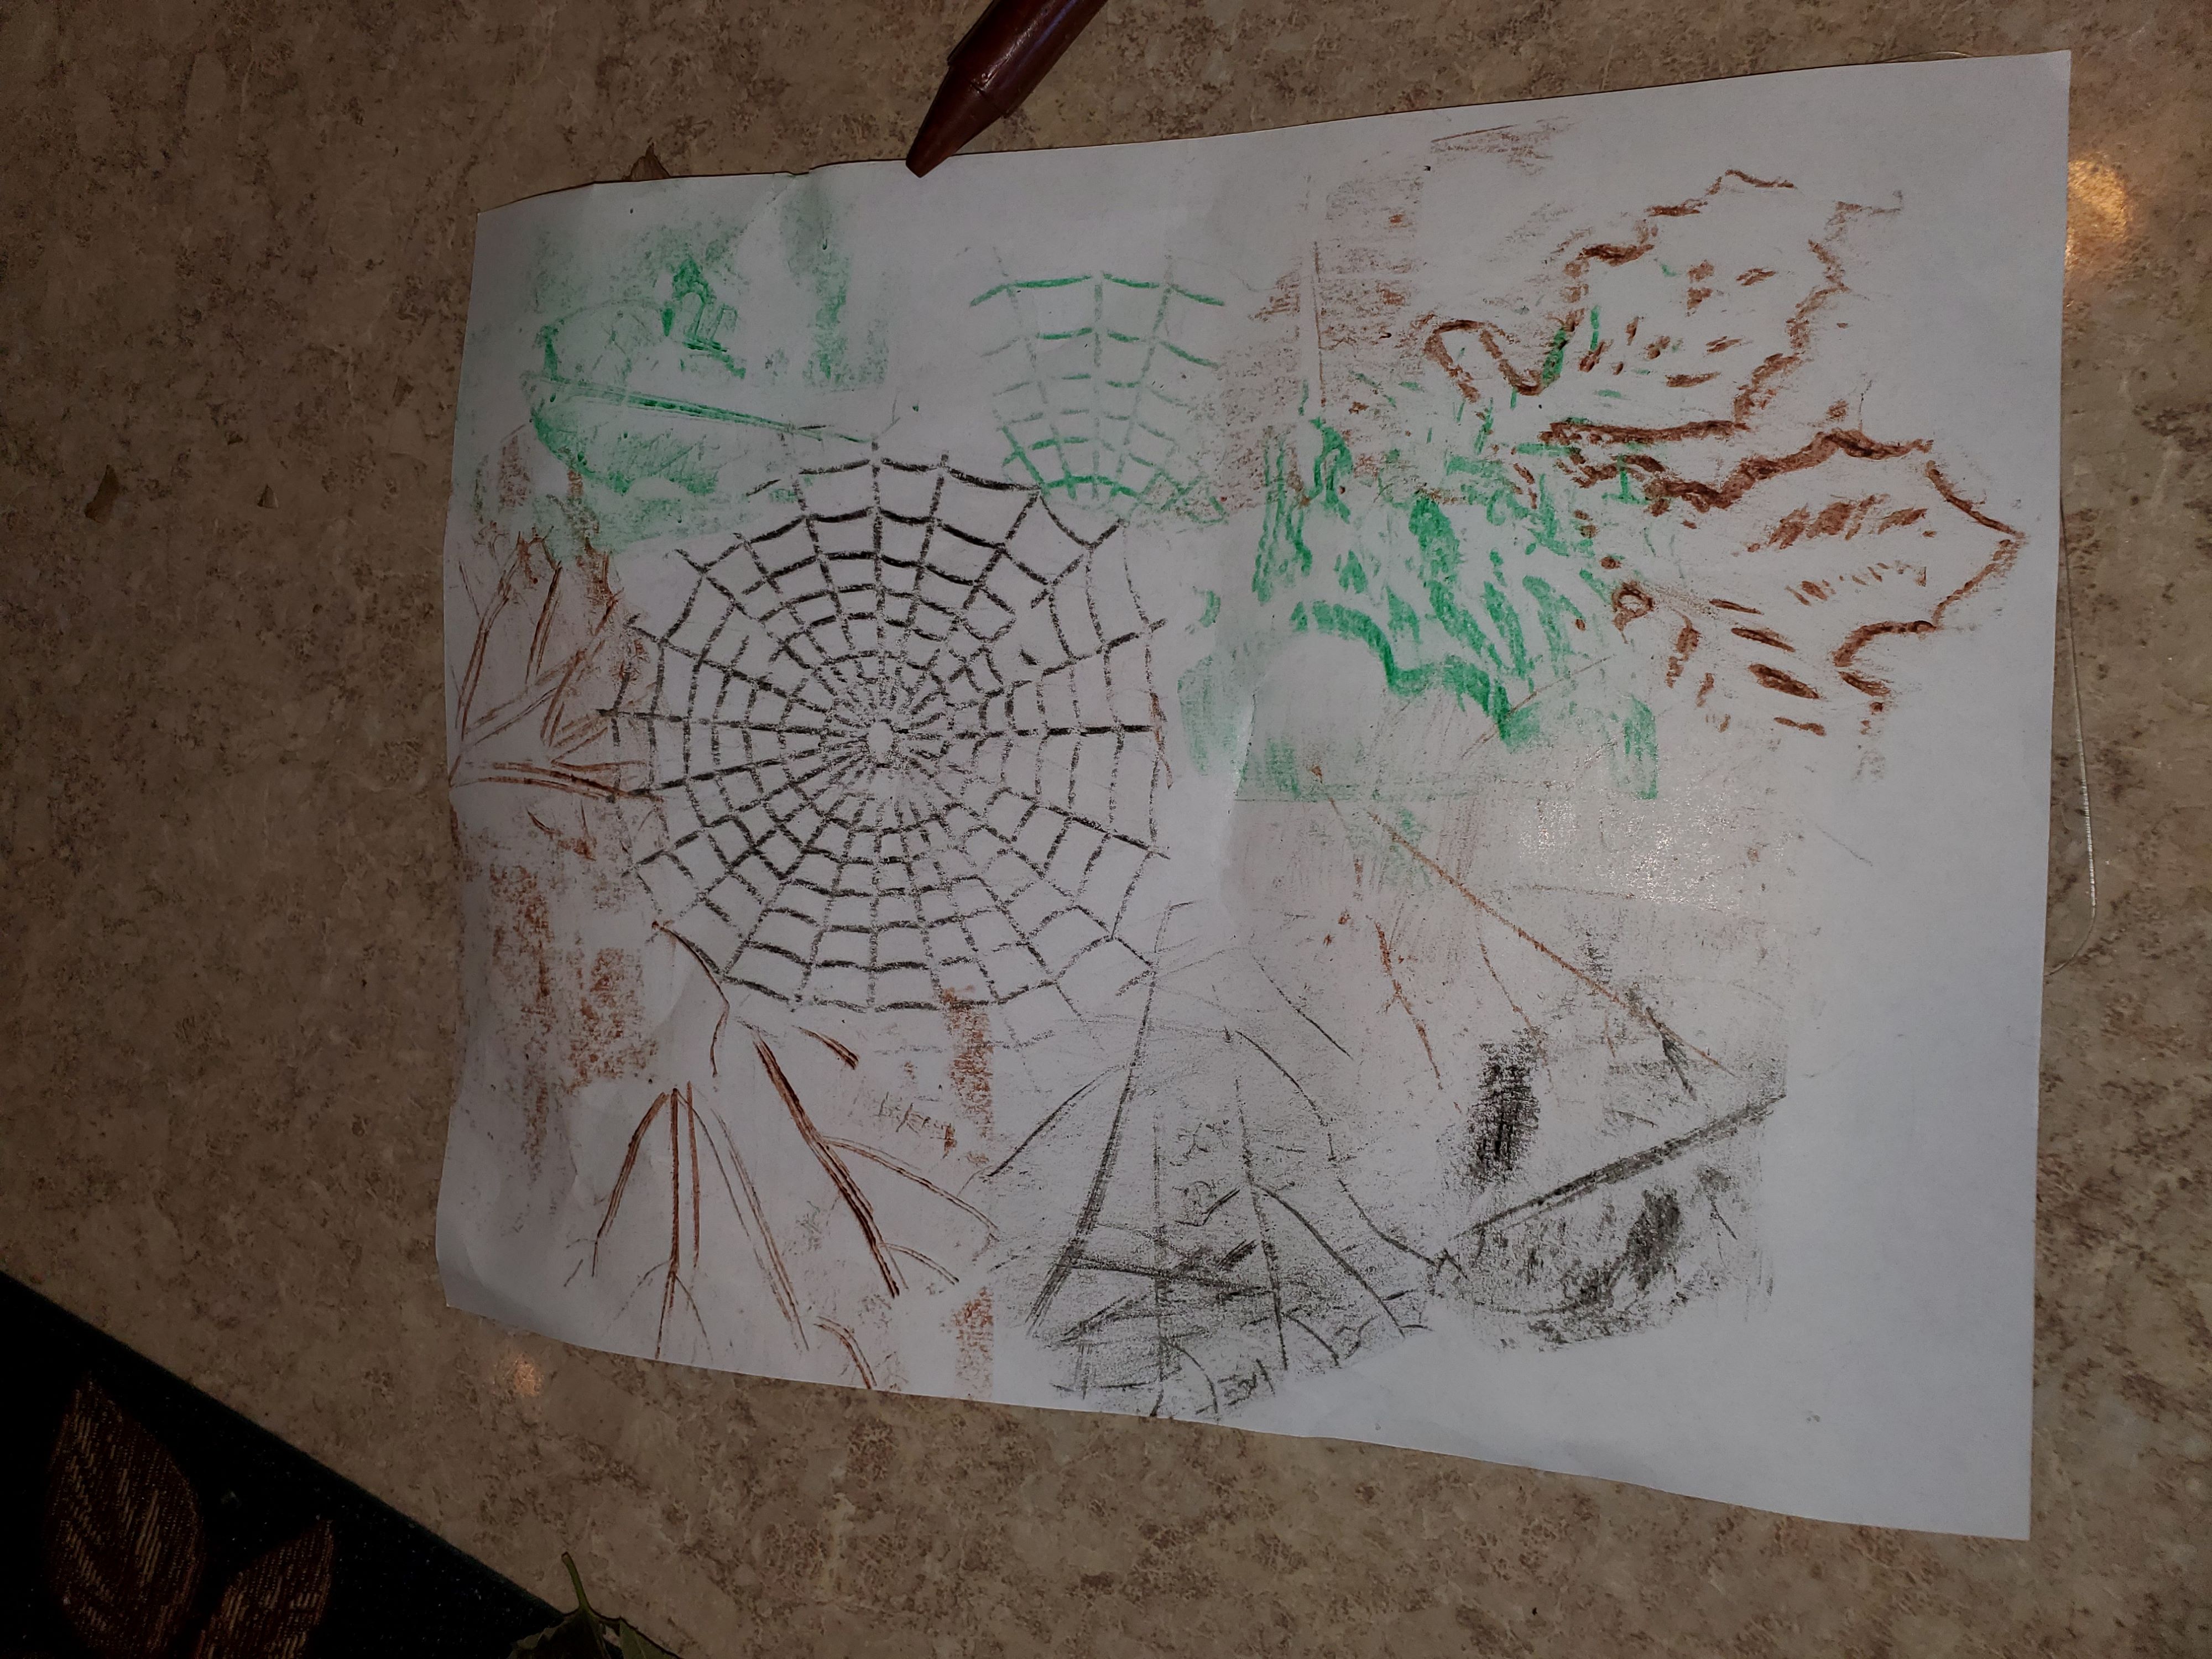
Materials provided for texture and leaf rubbing:
- (4) rubbing crayons
- (1) Textured rubbing plate
- (1) Textured leaf rubbing plate
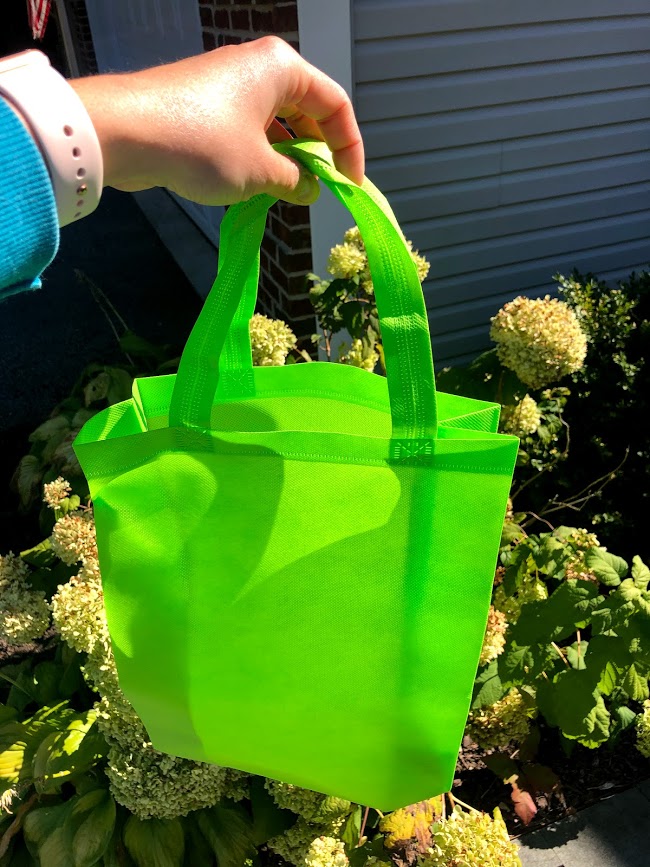
- (1) Tote bag
- (6) sheets of lightweight paper

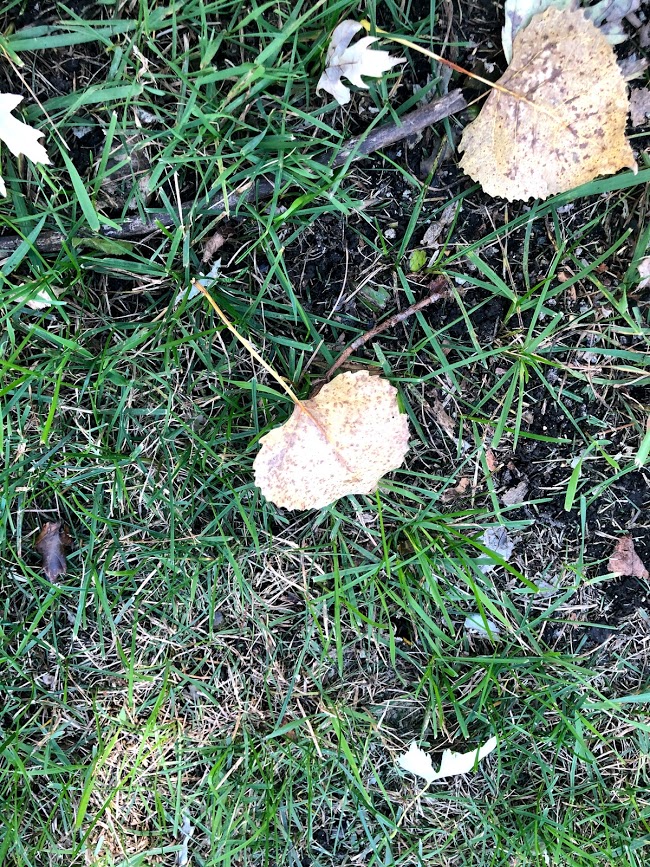
You will need to collect leaves of different shapes and sizes.
Directions:
1. Gather Leaves
Grab your tote bag and head out for a nature walk. Collect leaves of various shapes and sizes. Make sure the leaves are dry. (Flatter leaves work better, so do newly fallen ones).
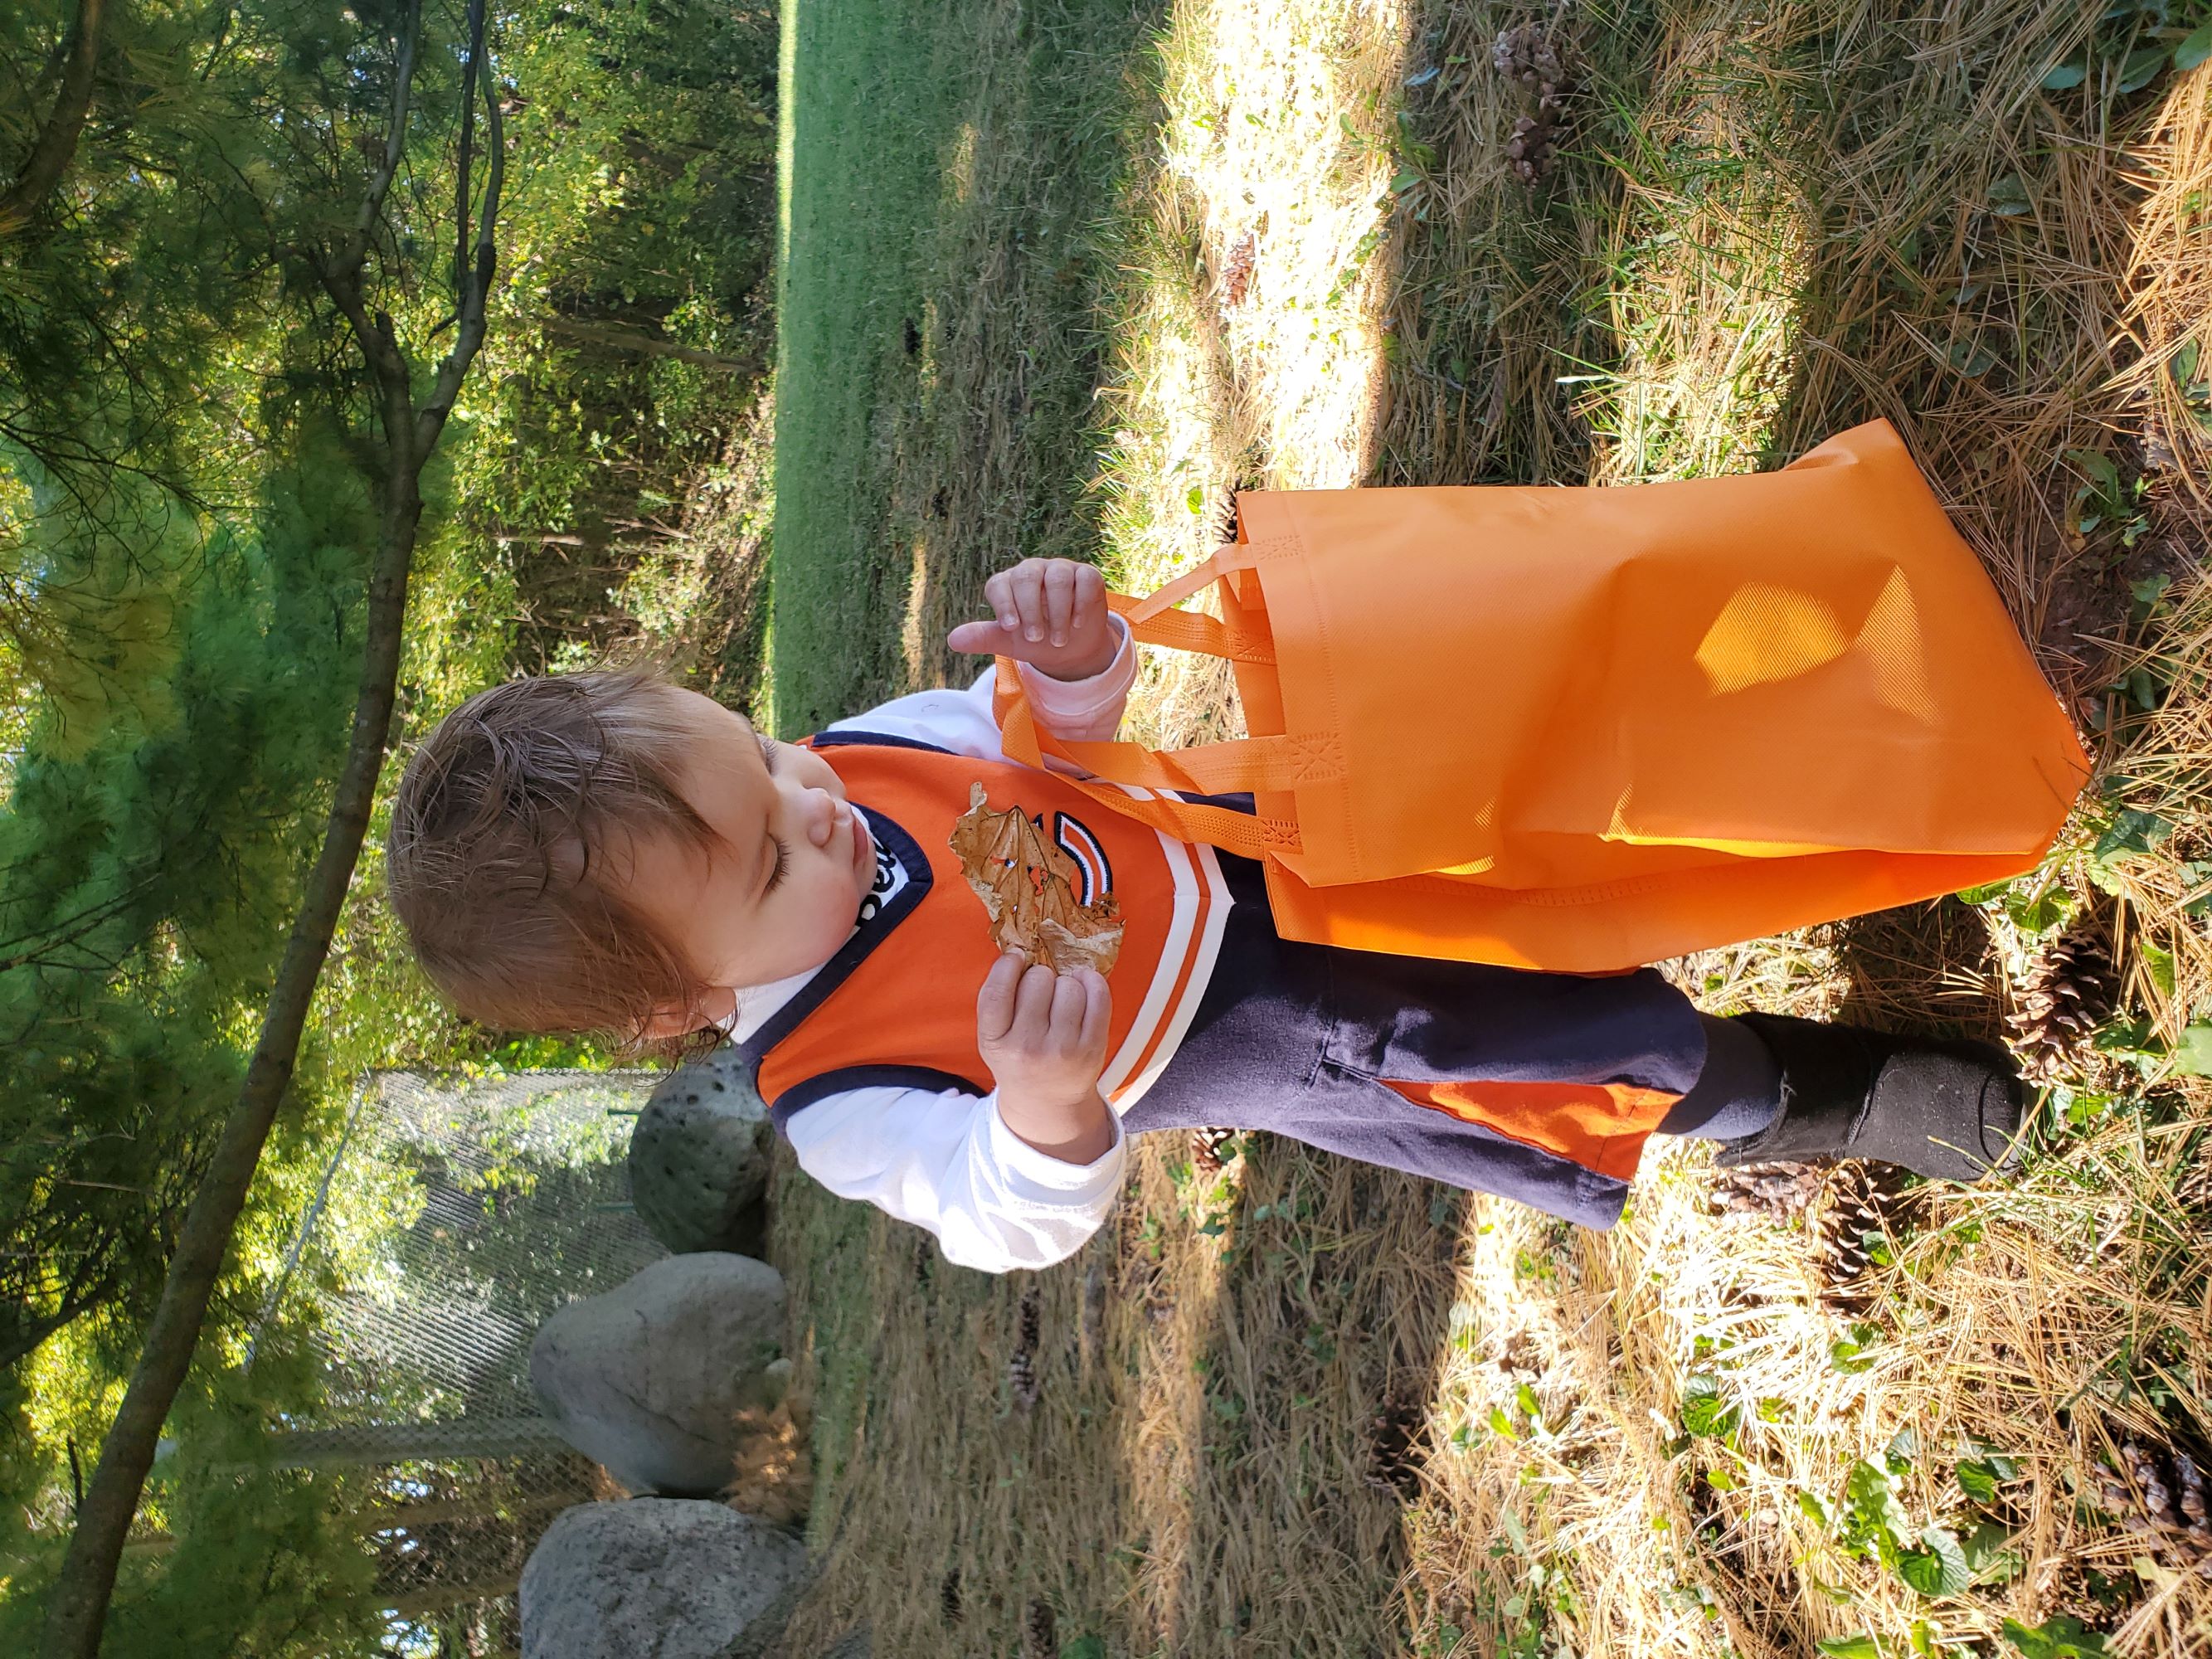
Conversation ideas for your walk: Ask your child to talk about what they see. Point out different things like animals (birds, squirrels, etc) and plants (trees, flowers, budding leaves, etc). Ask your child to find something of a specific color.
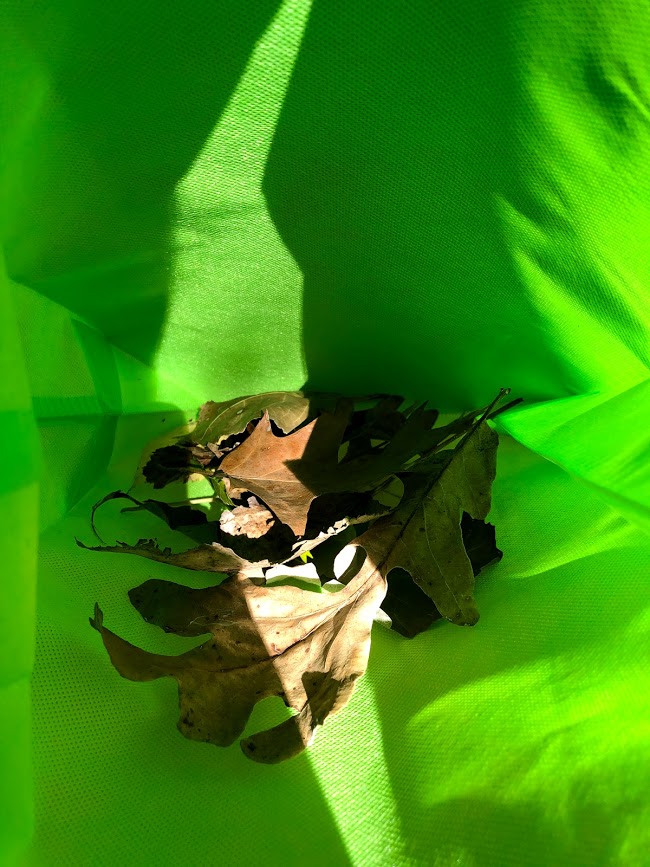
2. Return Home
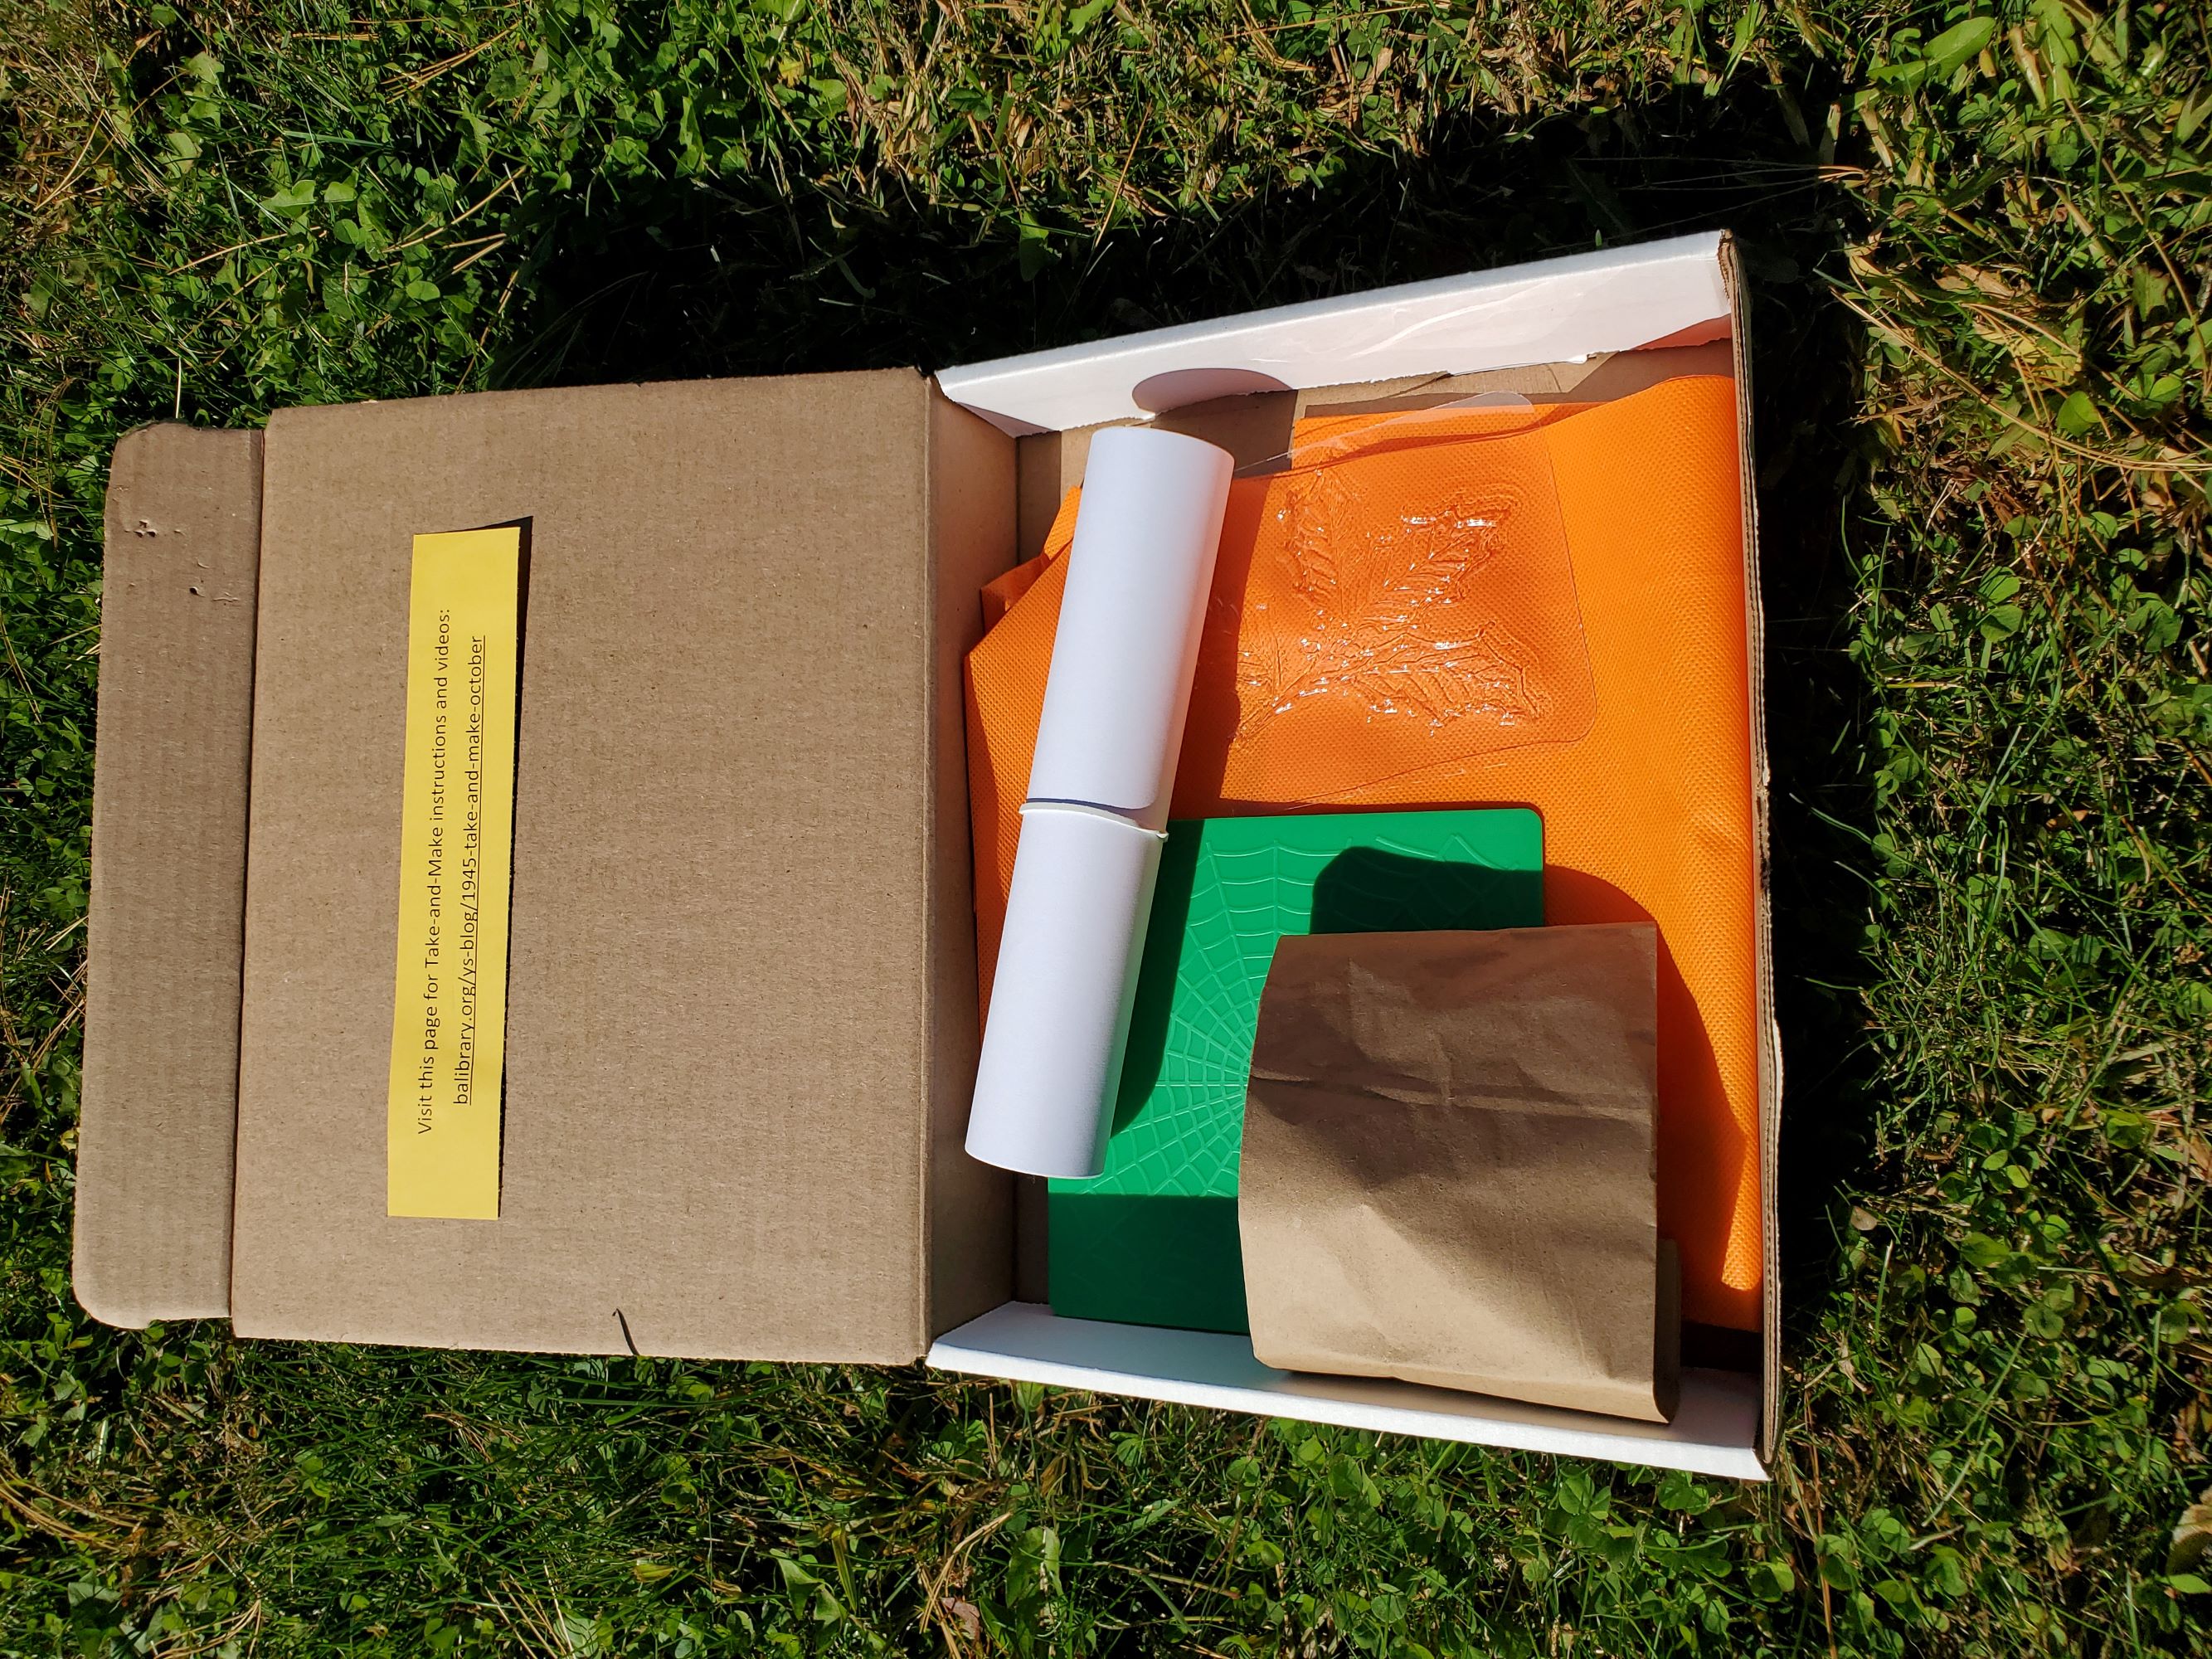
Remove your leaves from the bag. If other items were collected, consider having your child sort the different items.
Possible points to discuss:
- Each leaf is different in size and shape - none of them are exactly the same!
- Talk about the different textures of the leaves. How does the leaf feel?
3. Position a leaf.
Find a flat area to work. Place a leaf with its bottom side facing up.
4. Place paper over the leaf.
Put a sheet of paper over the leaf.
5. Rub a crayon.
Rub the side of a crayon over the leaf. As you do this, you'll see the colored areas start to take the shape of the leaf.
6. Rub over the entire leaf.
Continue until you've rubbed over the entire leaf.
7. Remove the leaf.
Remove the leaf from under the paper. This completes the basic steps for making a leaf rubbing.
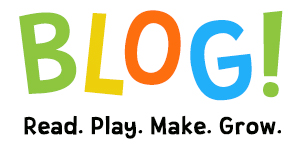
8. Make more texture rubbings with the textured rubbing and leaf rubbing plate provided.
Try using different colors. You and your child can compare and contrast the differences between the textured plates and the actual leaves.
Don’t be afraid to overlap the leaf rubbings to create a stunning picture! Enjoy!
Grades K-2: Leaf Rubbing Resist Art
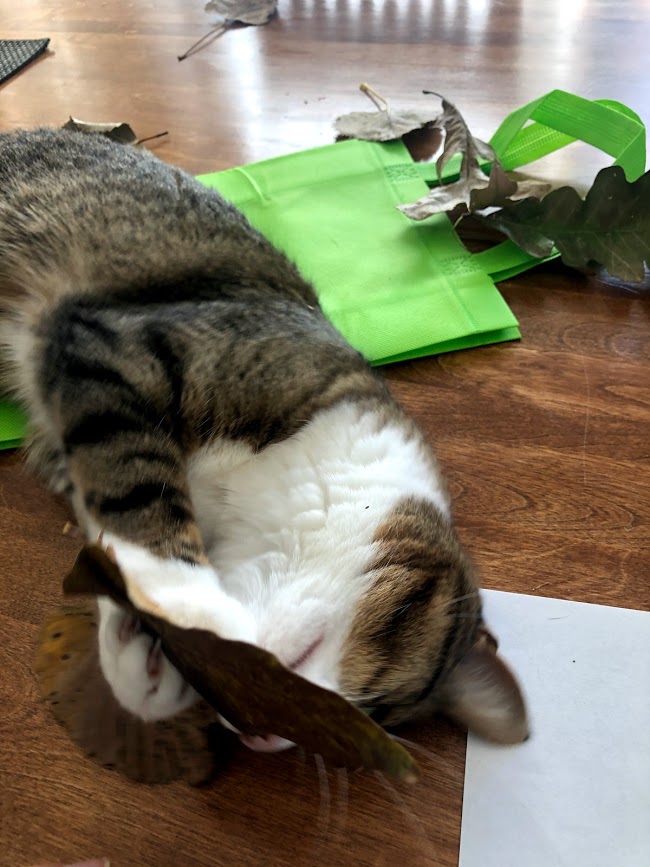
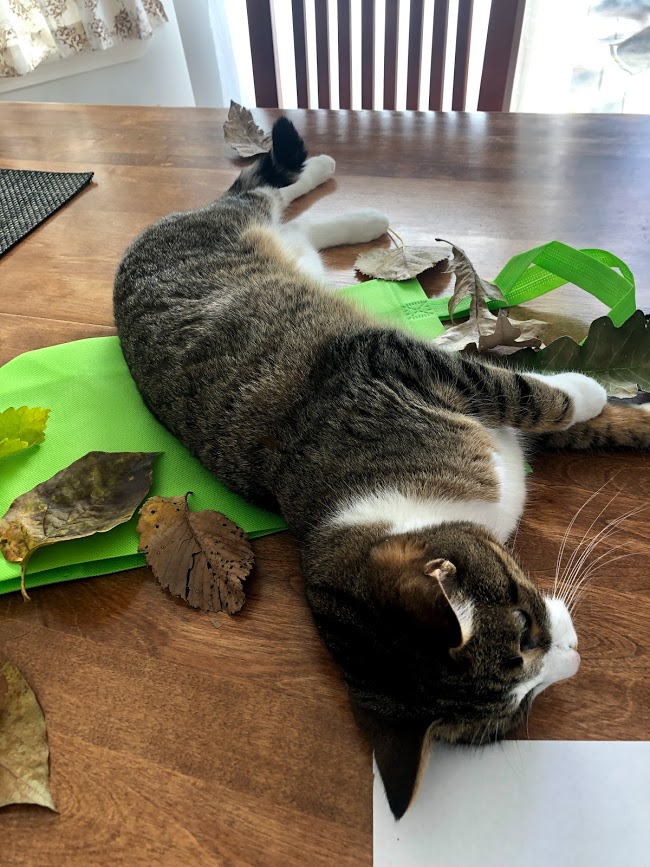
(Cat not included!)
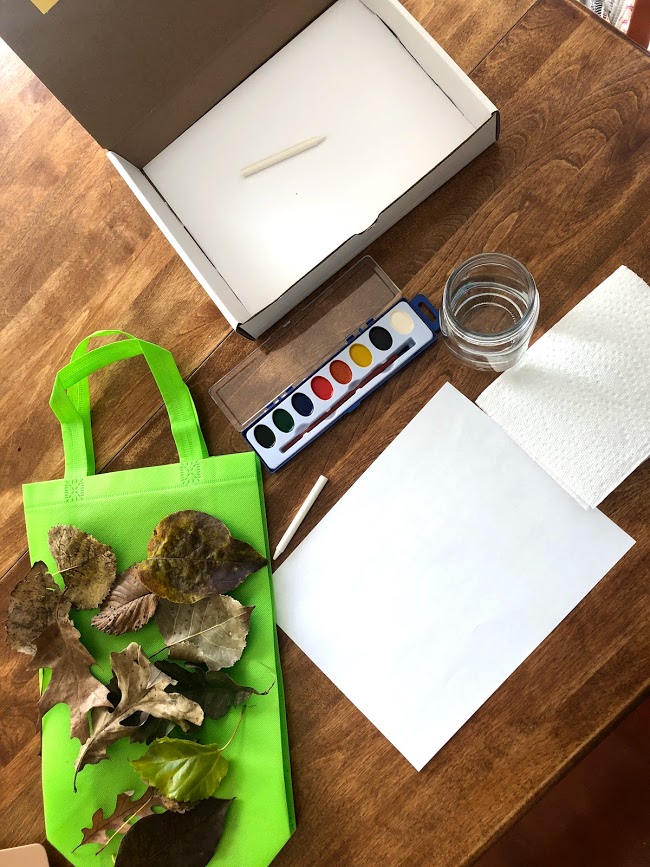
Things you will need in addition to the what is included in the kit:
- Leaves!
- Cup of water
Instructions:
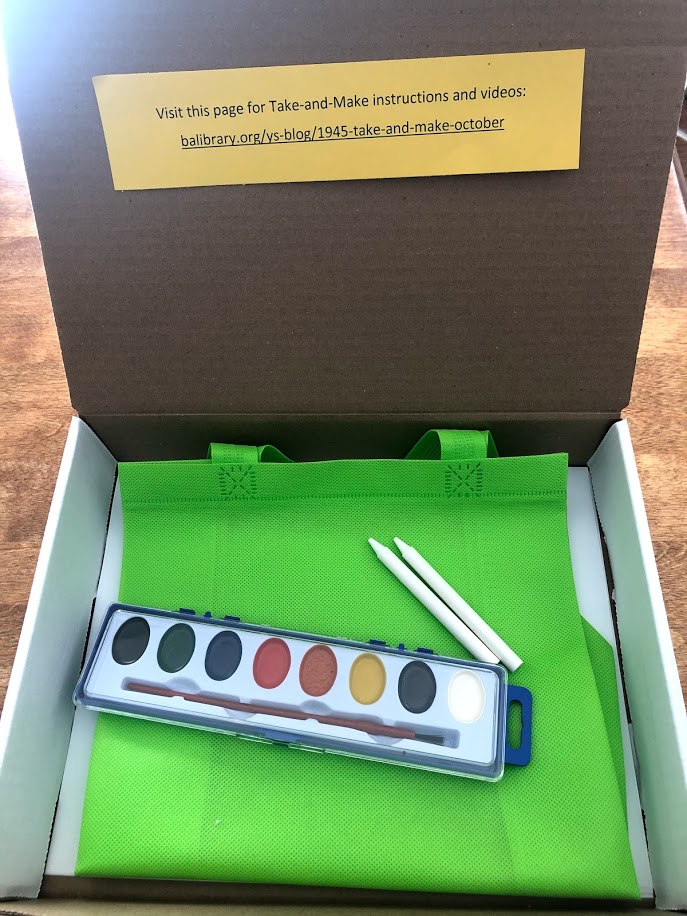
1. Take the items out of the box.
2. Use your bag to go on a leaf hunt! (Make sure you go with a grownup or have permission to go leaf hunting on your own.)
3. Gather leaves that aren’t too crunchy or too soft.
4. Take your leaves back inside.
5. Fill a cup with water.
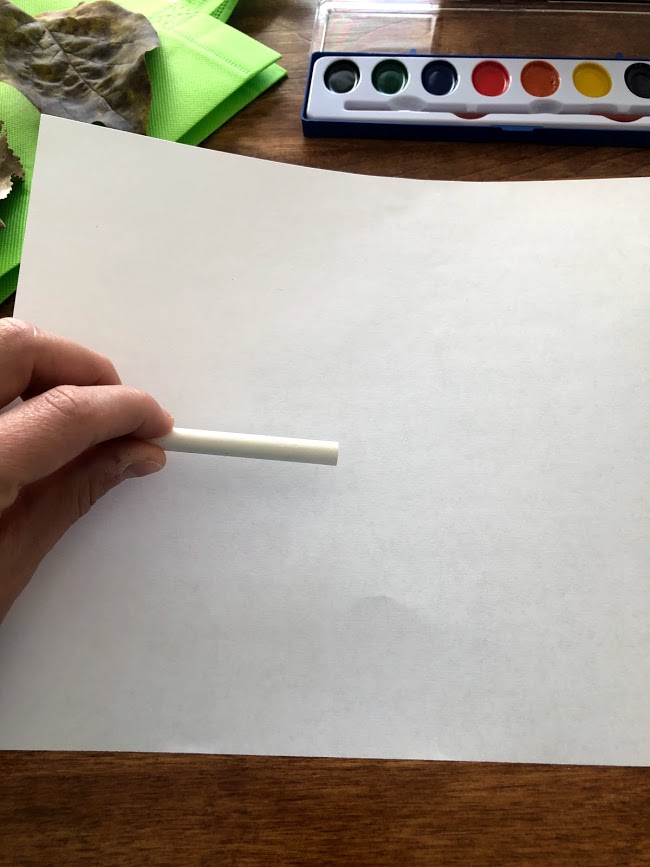
6. Place leaves under one piece of paper.
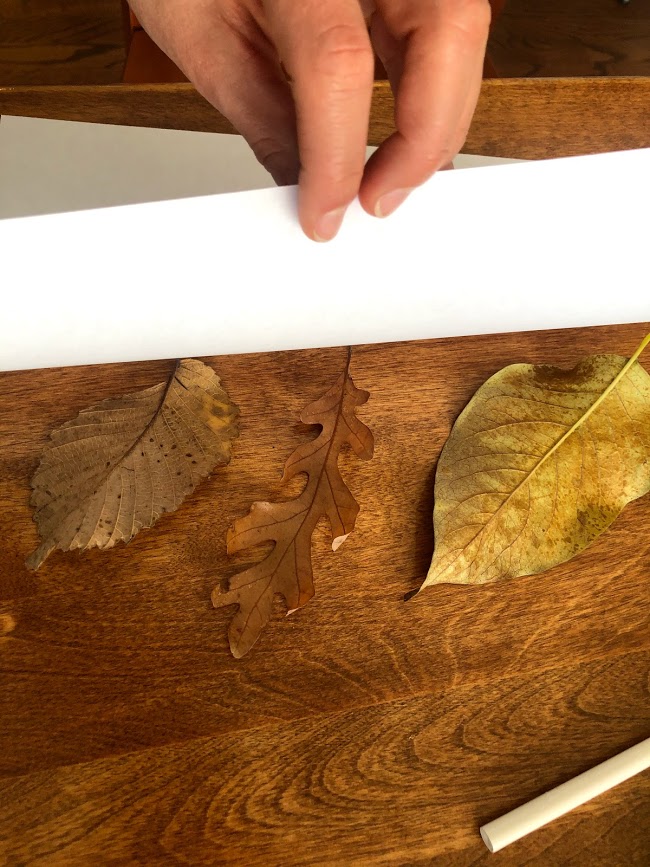
7. Rub over the top of the paper with a white crayon. Make sure to use the side of the crayon.
8. Remove the leaves from under the paper.
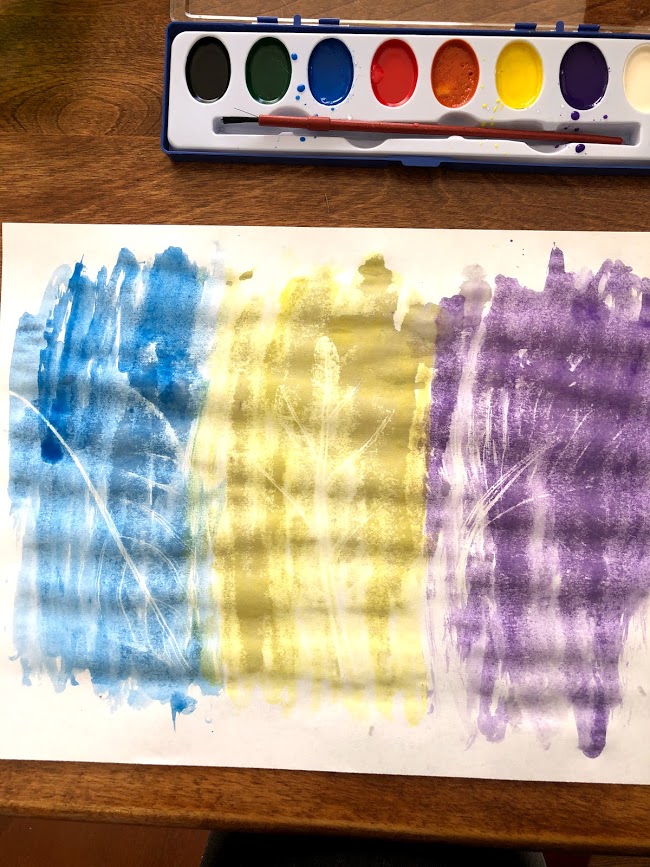
9. It won’t look like much since it is white crayon on white paper, but this is where the watercolors come in. Use your water to wet your brush and apply the watercolors to the paper.
10. Watch how the leaf rubbings take shape as the areas with the crayon wax resist the watercolors.
11. Let dry and enjoy your masterpiece!
Grades 3-8: DIY Sparkle Bowls
Make a glittery, decorative bowl through a fun and relaxing process.
Mod-Podge takes several hours to dry completely. This project works best if you have two days to complete it.
Note: Sparkle Bowls are not food-safe! Use your Sparkle Bowl to hold trinkets, coins, jewelry, or other small items - not food or drink.
In addition to the kit, you will need:
- Newspaper or scrap paper
- Scissors
Instructions:
1. Lay out a sheet of newspaper or scrap paper to protect your tabletop.
2. Pour some glitter into one container of Mod-Podge and stir with the craft stick to combine. You can use a little, or a lot! The more glitter, the more sparkly your bowl will be.
3. Place the silicone mold, curved side up, on the table.
4. Paint the glitter-glue over the surface of the mold, then cap the glue and rinse out your paintbrush.
5. Let the bowl dry completely - this will probably take a couple hours. The Mod-Podge will dry clear, so you’ll just see the glitter once it’s dry.
6. Paint a second coat, cap the glue and rinse out your brush again, and let the bowl dry again.
7. You can do a third or even fourth coat if you'd like a stronger container.
8. Once the sparkle bowl is completely dry, carefully peel the silicone mold away. Trim the edges with scissors.
9. Reuse the supplies as many times as you wish!
Watch this video to see how to make Sparkle Bowls:
 Youth Services Assistant Librarian Alyssa